So you want to start doing video? Maybe you’re a high school student with a love for a cameras, YouTube channels and an affinity for Wes Anderson films. Maybe you’re a marketing manager at your company looking to expand your strategy into the world of video marketing. Maybe you have a script that you want to make into something more than a piece of paper in a dusty drawer at your desk. Or maybe you’ve been doing this awhile and you’re looking for ways to spice your video up and improve its quality and feel.
For whatever reason you’re doing it, video production can feel a bit daunting. With all the gear and software required even to make a simple video, getting quality high enough for it to be enjoyed and shared can seem like a monumental task.
As a video producer for over 15 years, I’ve learned that so much of good video production is about technique. It’s not about the gear: the cameras, the lights, the fancy editing suites, and all the gizmos that people tend to put into it.
So I decided to put together a long list of basic tips (most of which don’t involve a bunch of fancy gear) so that you can make professional, powerful videos whatever skill level or equipment you may have at present.
There are three steps to video production: pre production, production, post production. Pre production is everything that happens before showing up on set. Production is the process of gathering the media. And post production is anything that happens after “Cut!” has been yelled at the end of the shoot. I’ve structured the skills in these categories with an added category of gear so that you can know quickly what things are going to make your video quality better and more powerful whatever step of the process that you’re currently in.
Like Our Content? Sign Up For Our Email List!

Pre-Production
Pre-production makes production makes post-production. Whatever you do, the planning phase is as important as the phase of actually doing it.
Plan Your Content
Whatever type of video you’re doing, whether it be an explainer video or a feature film, things are going to turn out better if you do a little planning on the front end. Pre-planning your content can look like:
- A script
- An outline of the shots you want
- A storyboard
- Basic talking points about the information you’re trying to convey
If you plan your content out in the beginning, things will go more efficiently on shoot, your maximize the emotional effect of your video, and you’re probably look and sound more professional in the final product.
There are three things you can think about when you’re planning your content:
Outline Your Goal
What are you trying to accomplish with this video,? What emotion you trying to convey with your film? What’s the goal here?
Identify Your Target Audience
Who do you want to watch your video? And how can you best reach them? Different people are moved by different things. And if you think about these people before hand, you’re probably have more success in reaching them with your video.
Use The Power of Emotions
Emotions move people either to change their lives or to convert and buy your product. In order for your video to be successful, you have to think about what emotions you are trying to convey and how are you going to do this. This will make your video more powerful and more enjoyable to watch once it’s complete.
Communicate With Your Client

Who is the client for your video? Is it you? Is it someone who’s paying you to make a video about their organization? Who is the person who is making the final creative decisions about your video? Whoever that is, you need to communicate with them. There’s nothing worse than getting to the end of a project and the client saying they don’t like the video (trust me! I’ve been there). It’s better to talk about things like style, location, feel, and approach on the front end so that you don’t waste effort and get burned in the long run.
Are you shooting a wedding video? Then you need to talk to the couple about what elements they want included in the video, how involved they want you before the wedding, and how obvious they want you during the actual ceremony.
Whatever the format, your approach to video should be in formed through thorough understanding of your clients wants and needs.
Be Honest With Your Limitations
Humility is an accurate view of self. That means being honest with where you’re at. And how the applies to video is being honest with yourself and your client about what you can do and what you can’t do for any given project.
If you don’t have a skill, don’t claim it. If you don’t have equipment for something, don’t claim to or be creative in solving that need through a DIY project. There’s hundreds of tutorials out there on how to do complicated film tricks with simple means. And if the client can’t afford it, don’t provide it. Setting boundaries with your client is essential to making a successful video business, if that’s ultimately what you’re trying to do.
Make A Shot List
Think you’re going to go on set and create a masterpiece without any planning? Think again. Even time-tried filmmakers have a hard time coming up with good content in the moment on set. And while there are filmmakers who do plan shots on-set, the vast majority of videos and films are planned before the record button is ever pressed.
Having a shot list doesn’t mean you have to draw every shot. A shot list can be a simple Word document of the different shots that you want to get while on set. It can specify pants, tilts, slides, or wide, mid, and close-up shots.
By creating a shot list, you’ll increase your efficiency while on set, maximize the coverage of the scene that you get, and you won’t forget those important shots you would have if you didn’t plan it out.
Making a shot list also helps you to think like an editor. Most filmmakers are thinking about the film in its edited form even while they’re shooting. A shot list is also especially helpful if you’re not running camera yourself or if you have two cameras running simultaneously. Everyone can reference the shot list to make sure they are getting what you need.
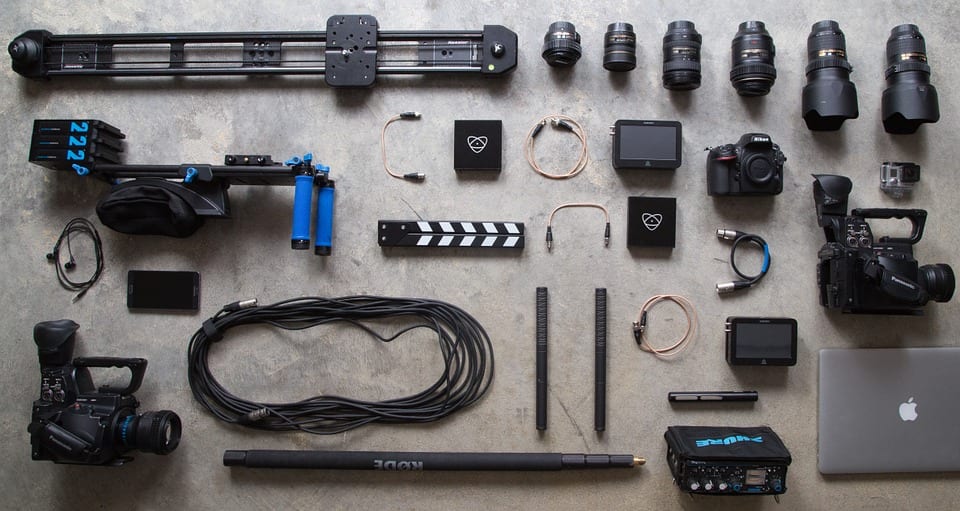
Gear
Though technique is equally if not more important, there are few important things to remember about your gear when you are thinking about doing video.
Don’t Stress About Your Camera
Of all the things on set, the hi-techiness of the camera is actually probably one of the least important to the overall quality of your video. Beautiful films have been made on iPhones. Whatever you have (unless it’s so old it’s not compatible with modern editing software), it can probably be used well. What’s most important using what you have a correctly.
So instead of spending buku bucks on a super expensive camera, read up on how to most efficiently use the one you have. And when you do invest in a camera, make sure you do enough research to find a good fit for what you need rather than what’s the most expensive and top-of-the-line at the moment.
Invest In Sound
There’s an old saying that goes sound is 90% of film. And it’s pretty true. People will forgive bad video but not bad audio. If you have a choice, it’s better to give a little on video quality and get a little on audio quality.

Really you should never-if you can avoid it–use the onboard microphone from the camera. A good way to avoid this is to record audio with a separate device and then match up that audio later. If you’re recording an interview, put your phone as close to the person’s mouth as possible and record the audio on that.
If you’re using a broom or a separate mic, make sure it’s close enough to pick up their voice but also out of the frame. Make sure that whatever you’re recording sound on is placed properly so it is capturing the audio of the person talking without catching things like jewelry, fabric rubbing, or heavy breathing.
And if you absolutely don’t have a separate microphone, make sure to minimize background noise. Unplug refrigerators. Turn off the fans and heaters in the room. Silence everybody’s cell phones.
Another good habit to get into is recording 60 seconds of room tone after you’re done shooting everything else. That is the noise of the room without any other talking. This audio can be used to help improve the quality of your audio in post production.
By paying attention to audio, you’ll quickly take your video quality for amateur to professional with not a lot of work or money.
If You Can Afford Them, Use Lenses Right
Lenses are some of the most expensive equipment you can buy. One lens can rack up several thousands of dollars pretty quickly. If you have several lenses, it’s important to know how to use them for maximum effect. The right lens can transform a shot.
Short lenses are good for everything in your shot being in focus. They’re also good for handheld shots because they tend to be less shaky.
Long lenses on the other hand, are good for tripod and depth of field. They tend to blur out the background more and give a more aesthetically pleasing look to interviews.
Bottom line don’t stress too much about lenses. Most cameras come with one lens. Use what you have. Odds are that you can do quite a bit with it and having a bunch of lenses isn’t the difference between quality video and not.
Bring Extra Batteries and Memory Cards
There’s nothing worse than getting halfway through a shoot and realizing you’re out of batteries. Or memory cards. There’s nothing more shameful than having to tell your actors or clients that you missed capturing half have the shoot/event/wedding because you didn’t have one or more of these things.
The moral of the story? Bring extra. Bring two extra. If you think you have enough, grab another one. Grab another two. It’s better to have more and need less in this area than the other way around. Memory is especially cheap these days, so there’s no reason not to have an extra SD card on hand.
Production
Once you get on set, technique is more important than ever. By taking your time and being deliberate the shots you’re gathering, you can really take your video to tell the next level.
Be Deliberate About Your Shots
Deliberate means doing things for a reason. Shooting video is about conveying emotion and information. And there is a lot of different techniques for saying different things with different shots.
Vary Your Shots
One of the biggest mistake beginners make is to use too many wide shots. Instead of this, use a mix of close, mid, and wide shots to create dynamic scenes in your video.
Use The Rule Of Thirds
Familiar with the rule of thirds? Instead of framing your subject in the center of your screen, frame them a little to the left or a little to the right of center. This is a more interesting what filmmakers call “composition”, and it will make your video look that much more professional.
Think About What Your Shots Say
If video is language, then your shots are sentences. By crafting them in particular ways, you can convey different information and emotions to your viewers.
For example, using close-ups conveys intimacy and focus on your subject. On the other hand, wide shot show gravity, isolation, and magnitude in a scene. Low shots make a subject more imposing, and high shots generally make a subject less so.
Film in Short Takes
People have the attention span of jumping over puddles these days. So it’s sometimes helpful to film in quick segments to give you lots of variety to keep things interesting. Short, quick content can be used in previews, trailers, and samples as well. A script which moves to different locations and shots will also generally be more interesting.
That Being Said, Let The Shot Rest Sometimes
One of the biggest mistakes I’ve seen (even in long-time video producers) is they focus on gathering too many shots to the detriment of the shots in the moment. Remember, one good shot is better than 100 bad shots. Most times it’s good to leave your camera to rest for at least 7-10 seconds on each shot, sometimes more. Sometimes unexpected things happen, and it makes your shot more interesting. It also gives you more content in editing for each shot as well, and any editor will tell you, that’s helpful!
Shoot More, Suffer Less
And speaking of editing material, shoot more, suffer less! As a video producer, one of the most common things you hear from your editor is that there’s not enough b-roll. B-roll is the video that goes over interviews. And the way you can minimize this problem is gathering way more than you need when you’re on set.
Take an extra half an hour on set to gather extra footage. If shooting a narrative film, always do one more take than you think you need. If you do, your future you or your editor will thank you. I promise.
Stabilize Your Shots
Blair witch Project is so 2003. In fact, it’s never been in for most video production professionals. Having unstable shots is the quickest way to make you look like a hot-pockets-eating wannabe filmmaker still living in your mom’s basement and editing on iMovie.
Hold your breath while the camera is rolling. Breathing often gives an undulation to the shot that could otherwise be avoided. You can also add weight to the camera making it more stable and less shaky. Instead of holding your camera out in front of you like a tourist, hold it close to your chest or stomach. This gives you a much stronger hold on the camera and will reduce the shakiness.
Like Our Content? Sign Up For Our Email List!
Use a Tripod
Another sure way to stabilize your shot is a tripod. A tripod stabilizes your shot and allows you to step away from the camera while it’s rolling. It also gives you more control over pans and tilts and generally will give your video a more professional look.
Don’t have a tripod? Use something else like a table or a chair. Filming an interview? Put your camera on a table and hit record. Don’t have a dolly or a slider? Slide the camera on a counter to give it the look of a dolly shot. In these ways you can mimic the effect of having a real tripod or slider without spending hundreds of dollars to buy one.
Now Ditch The Tripod
A tripod is good to have, but you don’t always want to live there. Taking your camera off the tripod and going handheld can give you access to unique angles, more dynamic shots, and create action-packed scenes and compositions.
Sometimes you can get the best of both worlds by using a monopod or shoulder mount. These solutions are excellent for run and gun shooting like sports or wedding videography.
Don’t Forget The Headroom
Headroom is the space above a subject’s head and the end of the frame. Most shots the subject will have at least a bit of open space there. Back in the day televisions used to cut off the 10% of a frame so this room was essential to your subject not getting slashed. DIgital televisions don’t do that, but headroom is still a standard of good video production. But don’t give your subject too much headroom! A good balance is what you’re looking for here.
Step Away From The Viewfinder
This is one of the most important tips. While on a video shoot, instead of keeping your eye glued to your viewfinder the entire time, every once and awhile stop and look around the scene. You’ll quickly find you are coming up with more unique shots, angles, and unexpected subject matter happening elsewhere in the room.
Don’t be filming the entire time. You can sit back, take a breath, and look for interesting things around the room. It will help you in the end.
Be Deliberate About Movement
Good filmmakers use movement for a reason. They use it to convey emotion and reveal information strategically in a scene. So don’t make every shot a pan, a zoom, or a slider shot. Think about your movement, about what it showing and what it’s saying.
Also, professional filmmakers rarely use zoom. And when they do it’s for a purpose.
Smooth Move Bro…
If you are going to move the camera with a slider or dolly, think smooth. Smooth pans, tilts, and slides are always more pleasing then shaky ones. If you think you’re going too slow, you’re probably going the right speed.
When I direct sports videographers, I always tell them to “pet the cat.“ How do you stroke a cat’s back? That’s how you wanna move your camera. Smooth.
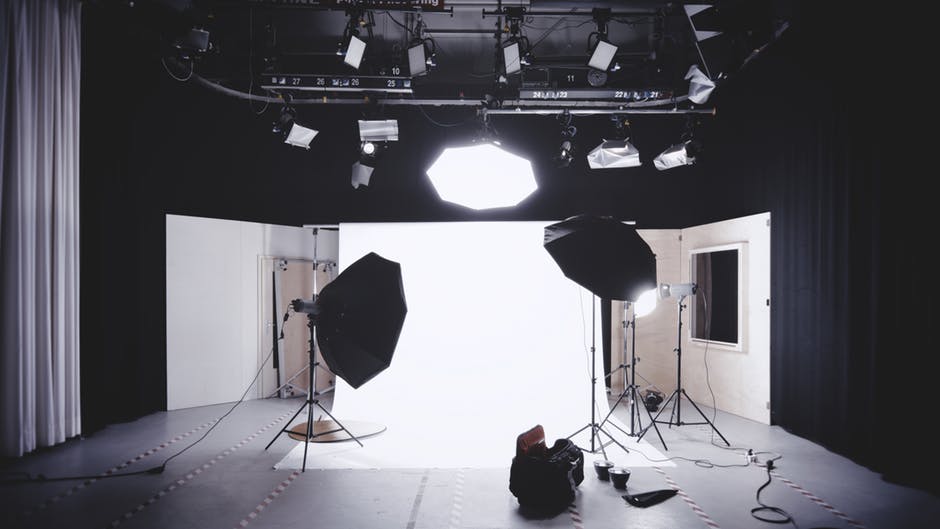
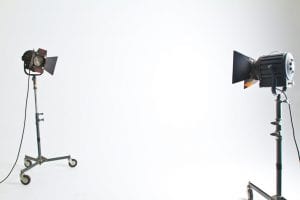
Add Light But Not Too Much
Good use of light is probably the most difficult aspect of video production. But it’s the aspect that makes you look and feel the most professional. If you’re shooting video, you should be using at least a little bit of light for your subject.
The standard lighting setup is called “three point lighting”: a key light, a fill light and a backlight. A key light is the light that which is the main light on your subject. A fill light is a lesser secondary light on your subject. A back light is a light used to separate the background from your subject. Adding just a little bit of light can make it seem like you have a whole new camera and an expensive one to boot.
That being said, don’t overdo it on the light! Fit lights to the project and the scene you’re in. If you’re shooting interview, make sure you have appropriate lights to brighten your subject. If you’re shooting a wedding, remember that the wedding isn’t about you and your lights. It’s about the couple. You don’t want so many lights people are paying less attention to the couple and more attention to how much you’ve hurt their eyes with 5k baby’s shining everywhere.
A portable light or an on camera light is always a great addition to any video kit. I use the INSERT LINK on every shoot I go on, video or photo. Here’s a couple other lights for under $50:
Bottom line: use as little light as is possible to light the scene well. Good lighting is essential. But don’t over do it. This is the way of the professional.
Use Practical Lights Whenever Possible
Don’t have money to spend on lights? Don’t worry. There’s plenty of lights in the real world that you can use. A light that is found on-set is called a “practical” light. Often filmmakers use practical lights in situations where they don’t have expensive film lights or the space is too small to put lights into.
Examples of some practical lights can:
- Work lights
- Can lights
- Your phone flash
- Your phone screen
- Lamps
- Computer Screens
- A flashlight
Natural light is also great for using at a pinch. Natural light inside generally gives you a bright but even look when it’s coming in through windows. But when shooting outside, it’s best to shoot in the shade or to aim for a cloudy day. Direct sunlight is harsh and unappealing on video.
Sunrise and sunset are excellent times to shoot video because of the beautiful colors in the sky.
Think About Your Background
Filming a marketing video? And explainer video? And interview? You need to think about the background that you want to use. Backgrounds can either add to a shot or be very distracting to the viewer.

When you go to set up a shot, ask yourself what’s happening in the background? Is it going to distract or add? Is there another thing near me I could put in the background that would add to the scene or be less distracting?
If you’re shooting explainer or talking heads videos, you have to ask whether to use a real background or fake one? Shooting against a real background can be easier, less complicated to edit, and can look very nice if done well. But it can also look very ugly and amateur and be distracting from the subject of your video. Or do you shoot with a fake background like a blue screen or a green screen? Green or blue screens can be very versatile, allow you to put whatever you want there, and give you a professional edge. Generally green screen footage takes a fast computer to edit, though, and you can easily screw it up without the proper lighting.
Now Step Away From The Background
Separating your subject from your background is a quick way to make your video look more professional. Doing so will add a blur called “bokeh” to the background. It also makes the shot more interesting and focuses attention on the subject.
Use Interviews To Organically Convey Information
Looking for an organic, sincere way to communicate information or tell a story about your business or product? Use an interview. An interview is generally a video recording of someone about a subject. It’s a great way to talk about your organization or product organically and give a personal feel to whatever they’re talking about.
While in the interview, ask a lot of questions. Again, it’s better to have more and need less. You can always get rid of stuff.
When framing your interview, shoot straight on or just off to the side of your subject. Leave some wiggle room for the subject to move around. There’s nothing worse than getting halfway through an interview and the subject shifting to the side and out of the frame.
After you’re done with the interview, shoot “cutaways” and “reversals. Also sometimes called “noddies”, these are shots of the interviewer (maybe you) listening to the interviewee or reacting to what they’re supposedly talking about. You can cut them in during the editing process to make it look like you had a two-camera shoot.
And remember! Make sure to put your microphone close enough to your interviewee’s mouth to get good audio! This is of the utmost importance especially in an interview where audio is arguably more important than the video.
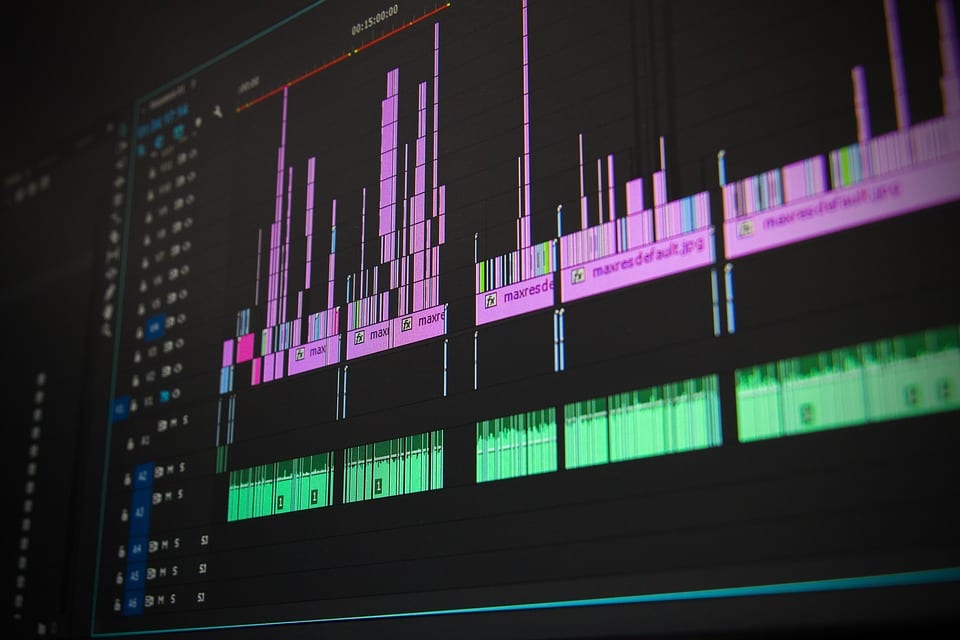
Post-Production
Film production is like grocery shopping: you’ve written the recipe, you’ve gathered the ingredients, now it’s time to put it all together!
Be Organized!
There’s nothing worse than losing footage. Having to re-create things because someone emptied out the downloads folder is a horrible waste of your time and feels terrible especially if it can’t be recreated.
Be organized with your footage. Develop an organizational structure on your hard drive for where things go for what projects and stick to it. Personally I use a structure that includes the date and the the project on one level, then it divides into individual folders for footage, elements, projects, audio, documents, and other things for that project. I hold to it rigorously.
Having a good organizational structure will save you time and, if you’re going professional, money. And not to mention the hair loss you’ll avoid worrying about where that shot of the CEO got put!
Don’t use IMovie or Windows Movie Maker
Stock editing programs are crap, generally speaking. Even if you don’t have money to invest in editing software like Premiere Pro or Final Cut, there are plenty of better options out there for free.
Experiment with different editing software as often as possible. More practice, equals better editing. There are plenty of free suites available through a quick google search.
Edit With Style!
Don’t just start throwing footage together once you get in the editing room. Pick a style for your video, a feeling. Is your video going to be quick with lots of shots to keep people interested? Is it going to be slower, more meditative to keep people enthralled with the beauty of the subject matter? Is it going to be gritty and hard with more camera movement and less tripod shots?
Remember, film is about conveying emotion and information, and the style of editing that you choose to use is an integral part of how they are conveyed.

Use Keyboard Shortcuts
You can tell her professional editor is by how little they touch their mouse. Most professional editors understand that the time it takes to swap tools with your mouse isn’t much, but it adds up over time. Using keyboard shortcuts is a great way to increase your efficiency and make you get more done.
Most software have a list of their keystrokes for free online.
Give your video A Promotion
You’re done! Your video is complete! Now the real work begins.
Making the videos just the first step. Promoting that video is the only way get it out there to your viewers or your prospective clients.
The good news is that there are plenty of free ways online to promote your video including posting it to a YouTube or Vimeo account. You can also post it to your or your company’s social media so that your followers can comment on it. These methods are great for creating a brand.
Looking for places to put your film and generate passive income? There are plenty of places to host your film online and use an OTT app to sell a subscription.
You can also spend money through paid advertising on social media to get your video in front of people if you’re struggling to get any response.
Have Fun!
And the most important tip of this entire blog post? Have fun. Having fun and enjoying the process of making videos is the quickest way to improve the quality. People will forgive your videos if it’s a little bit lower quality than its competitors. But what they won’t forgive is a video without heart, the video that has all the professional elements but none of the emotion and joy.
So have fun! Experiment. Do things differently. Break rules. But whatever you do, get it done, and get that video out to the world to move people’s hearts and their mouse cursors to convert.
About The Contributor
 My name is William Bowman. I’m a fifteen-year video production expert with a degree in film production and five years of agency video production experience. I’m also the founder and owner of We Heart Create. Some examples of my video and photography can be found on the WHC Studios website:
I don’t get paid to contribute my knowledge to these blogs. But when you share my content a portion of the advertising revenue does come back to me so I can continue to create beautiful things for everybody to enjoy.
Be sure to subscribe to We Heart Create’s social channel for more helpful creativity tips and tricks. You can also find us on Facebook, Instagram, and Twitter.
If you’re interested in becoming a contributor to We Heart Create, you can email us at weheartcreate@gmail.com and start making money by sharing your creative knowledge with the world.